I have been lucky to avoid moving in quite awhile. Over the years, I got very comfortable with my kitchen, and although it certainly wasn’t perfect, I knew how to make it work.
I have been very lucky to move just a few weeks ago! We didn’t move far, but among many other upgrades, the kitchen is much bigger. Rather than a galley kitchen, we now have an island and enough pantry space that we can keep the island clear for prep work.
Because of the move, I fell two weeks behind on baking cookies. I knew I had to catch up, and I think the first two batches really exemplify the moving process.
Batch 1: DŌ Chocolate Chip Cookies from a box
Julie and I frequently cook dinner, but we just weren’t ready for the first week. Not only were our pans, plates, and forks still in boxes, it just felt like too much to come up with something.
Coincidentally, we received cookie dough mix from a friend just a few weeks before. He was visiting from New York, where DŌ apparently is a big deal. They’re not just cookies: they’re all about edible cookie dough. By edible, I mean not taking chances with food poisoning.
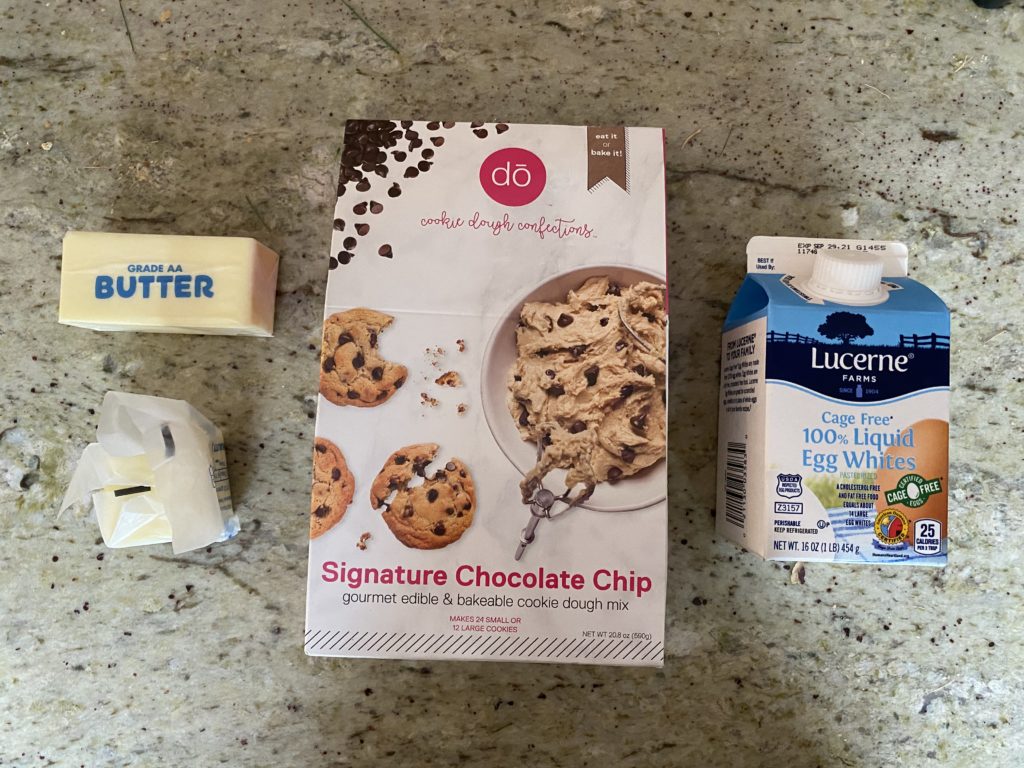
I looked at the ingredients, and they’re relatively standard. They use heat-treated flour and call for adding pasteurized egg whites to make it safe. The only other unusual ingredient is corn starch, which I believe prevents the mix from clumping.
One of my top priorities was unpacking the kitchen, and eventually I got to getting the stand mixer out. It said to use a hand mixer, but this was supposed to be a lazy batch, so I figured I would let the beater hold itself.
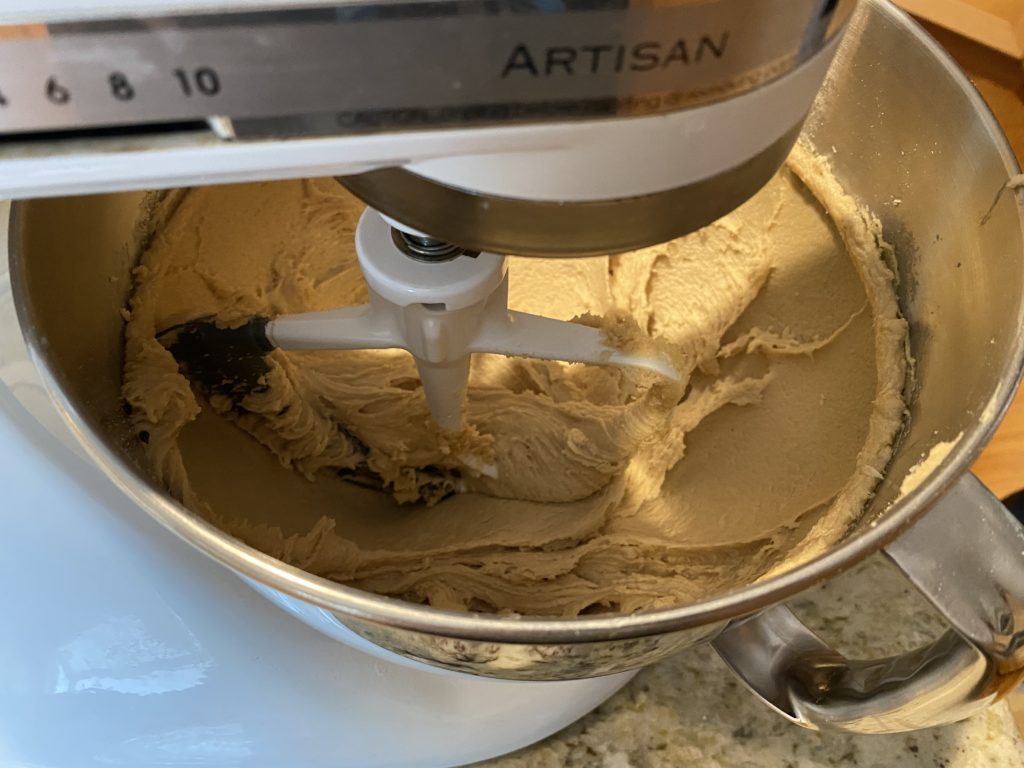
The recipe was quite straightforward: eggs and butter in first, then the mix, then the chips. Then eat! We tried a bite: it was good.
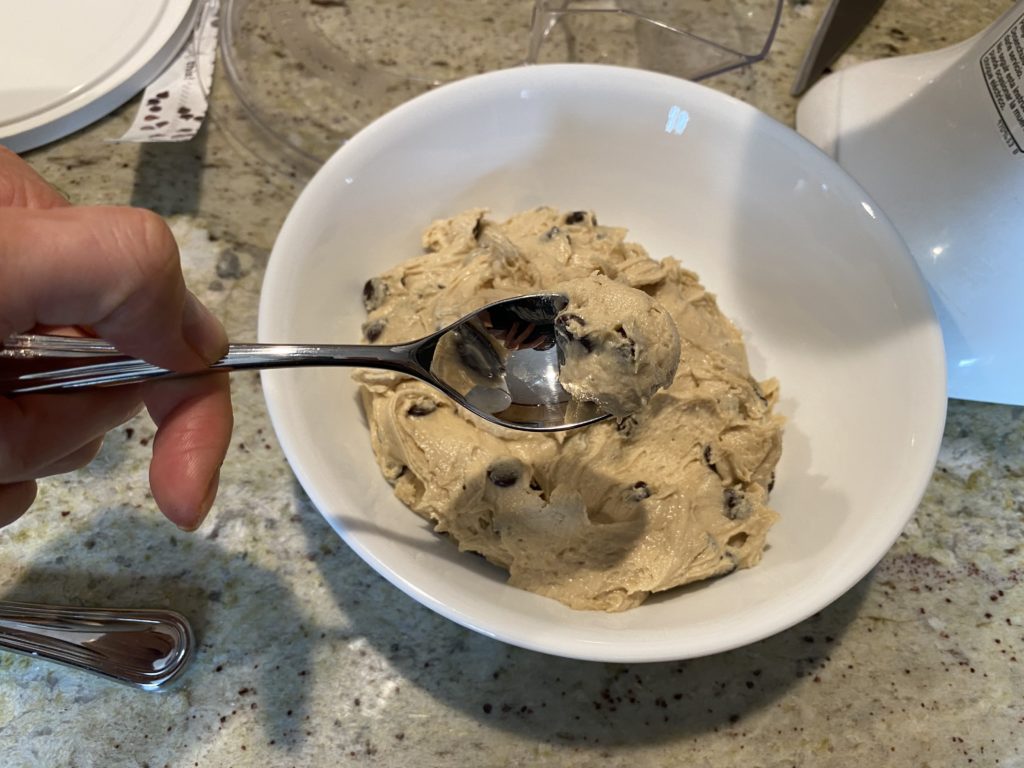
I had failed to read ahead, and the recipe called for chilling the dough for 24 hours before baking. The dough was quite soft, so it made sense to get it as solid as possible.
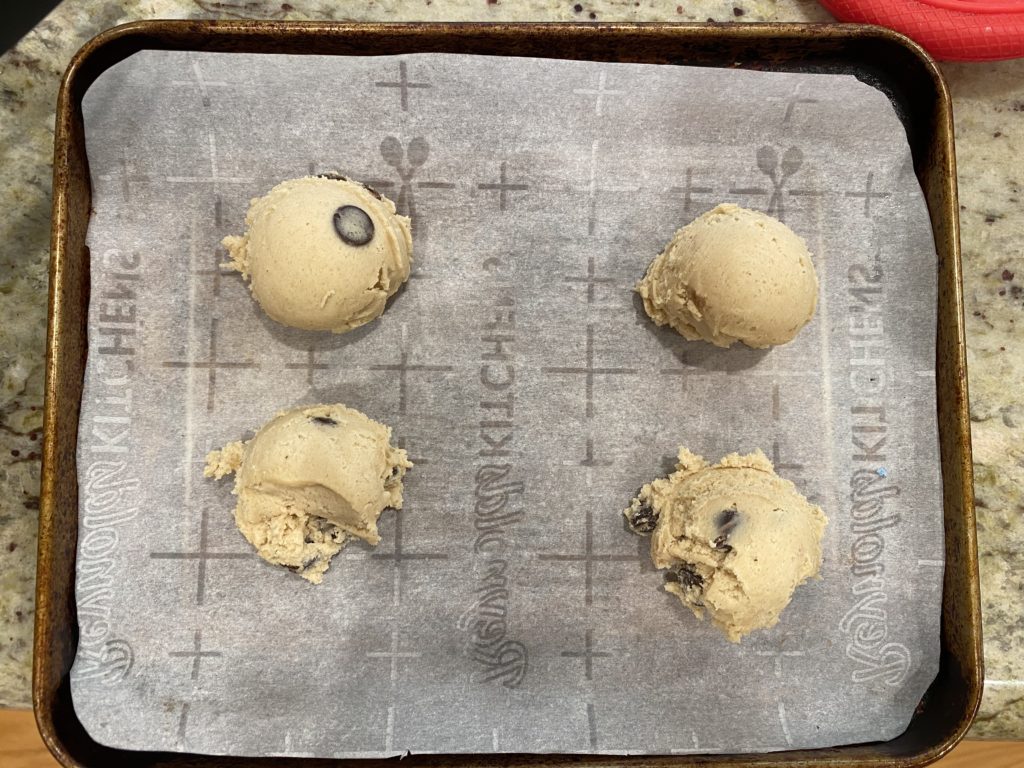
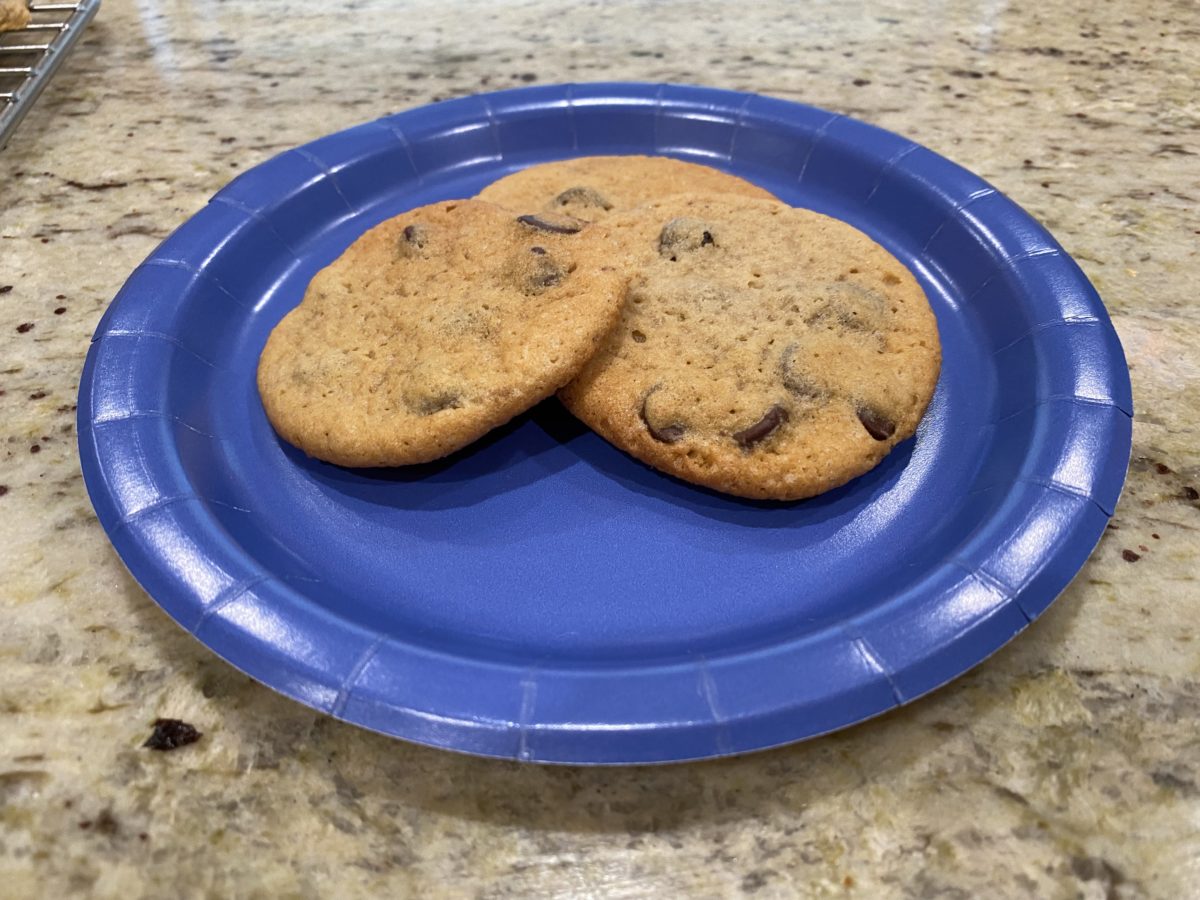
I hadn’t quite figured out the oven yet, so I just used my trusty toaster oven instead. The only mistake was that I had scooped too big, so two of the cookies decided to become one.
Overall, the cookies turned out fine. I would happily eat them, but they were nothing special, other than being edible.
Though with that inspiration, we decided the dough was best used raw. Julie had the idea to make cookie dough ice cream. We haven’t quite gotten around to that yet, but I’ll post pictures when it happens.

Batch 2: Hershey’s Chocolate Chip Cookies in the fancy oven
So after chaos and laziness calm down into organization and industry, we actually started cooking. The first big change was switching from an electric cooktop to a gas cooktop. It suffices to say that a lot of recipes and differences of technique make a lot more sense now because this has been a completely different experience.
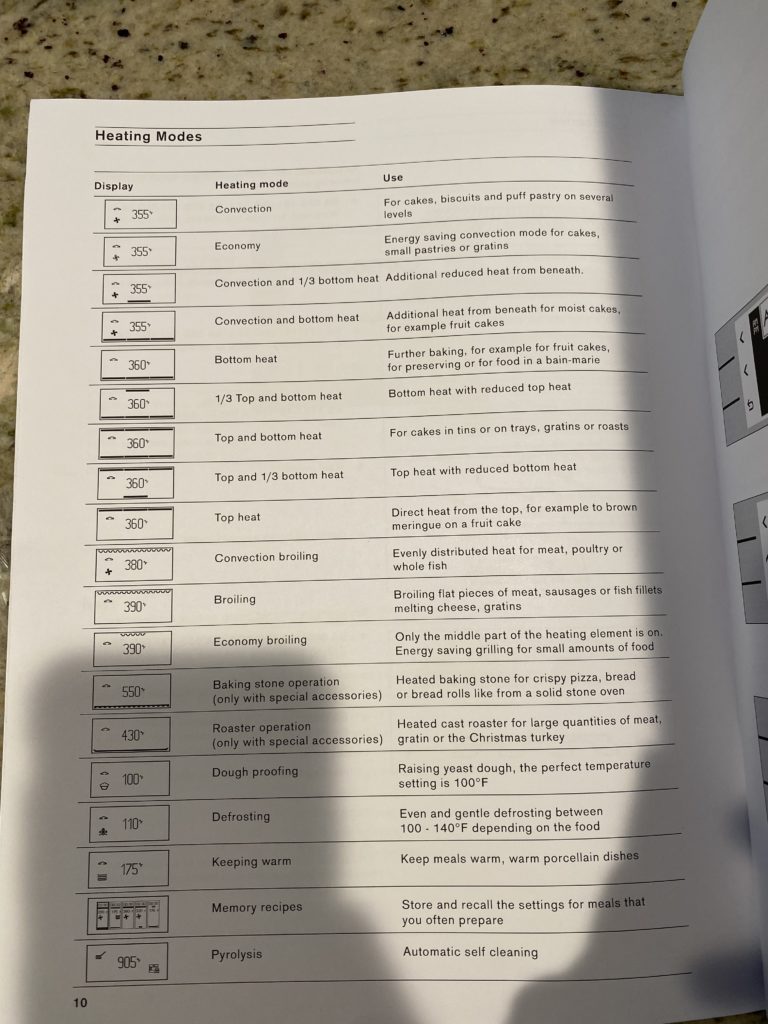
Next was the oven. After a critical error involving a frozen pizza cooked directly on a rack with a cutout I hadn’t seen, I actually read the manual and also discovered about a dozen different heating settings.
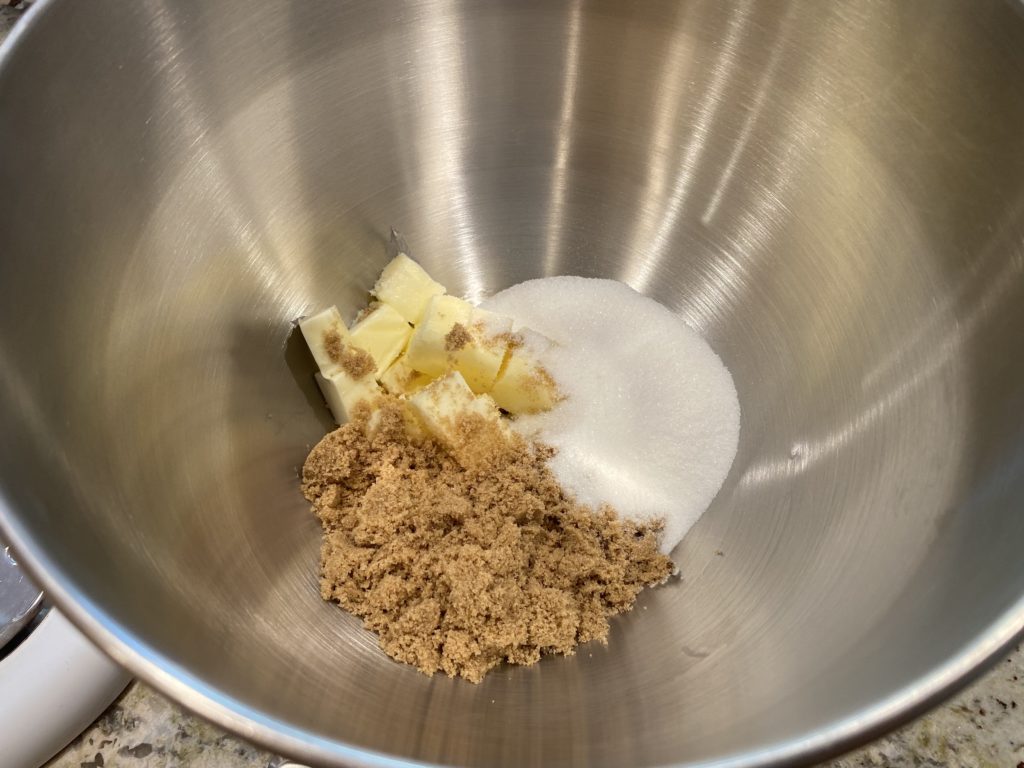
I originally had my eye on trying another recipe, but I decided to go with the Hershey’s chocolate chip cook recipe instead. With a tried-and-true recipe, I could calibrate the recipes to my expectations. So, I started by spreading all of the ingredients out around the island.
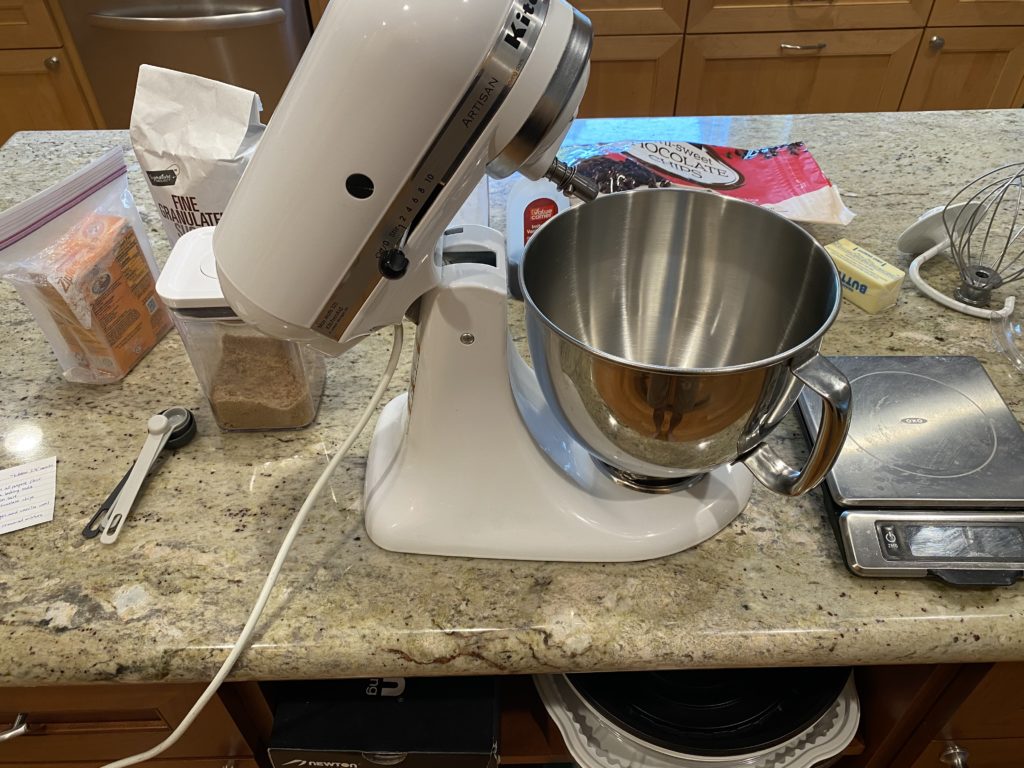
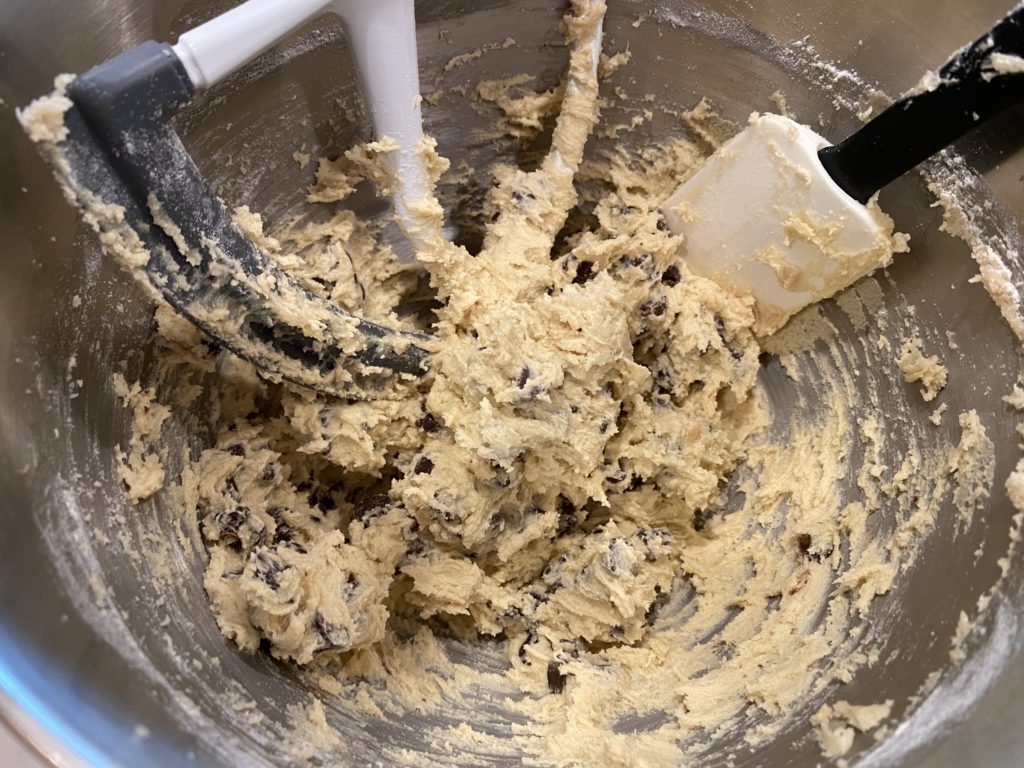
The mixing process was quite straightforward. I went for three minutes of creaming: it’s short of Bravetart’s recommended five minutes, but the recipe doesn’t call for extensive creaming in the first place. Also I was doing a half recipe.
Everything else went by pretty smoothly, and I got all of the chips added.
I actually ended up chilling this dough as well since I ended up not needing the cookies that afternoon. That evening, I first baked a few cookies in my toaster oven as yet another control to make sure the dough was okay.
I’m still surprised by how much a cookie changes in the three minutes after taking them out of the oven. They look puffed and underdone, but by the time I am taking them off the sheet, they look fine.
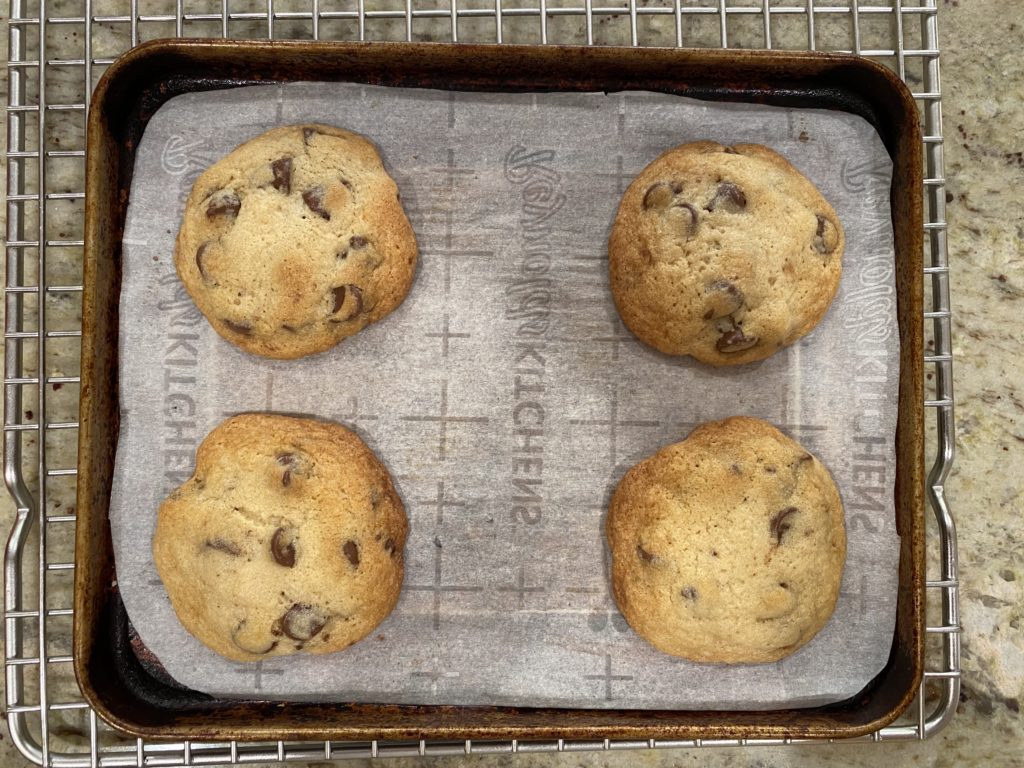
puffed 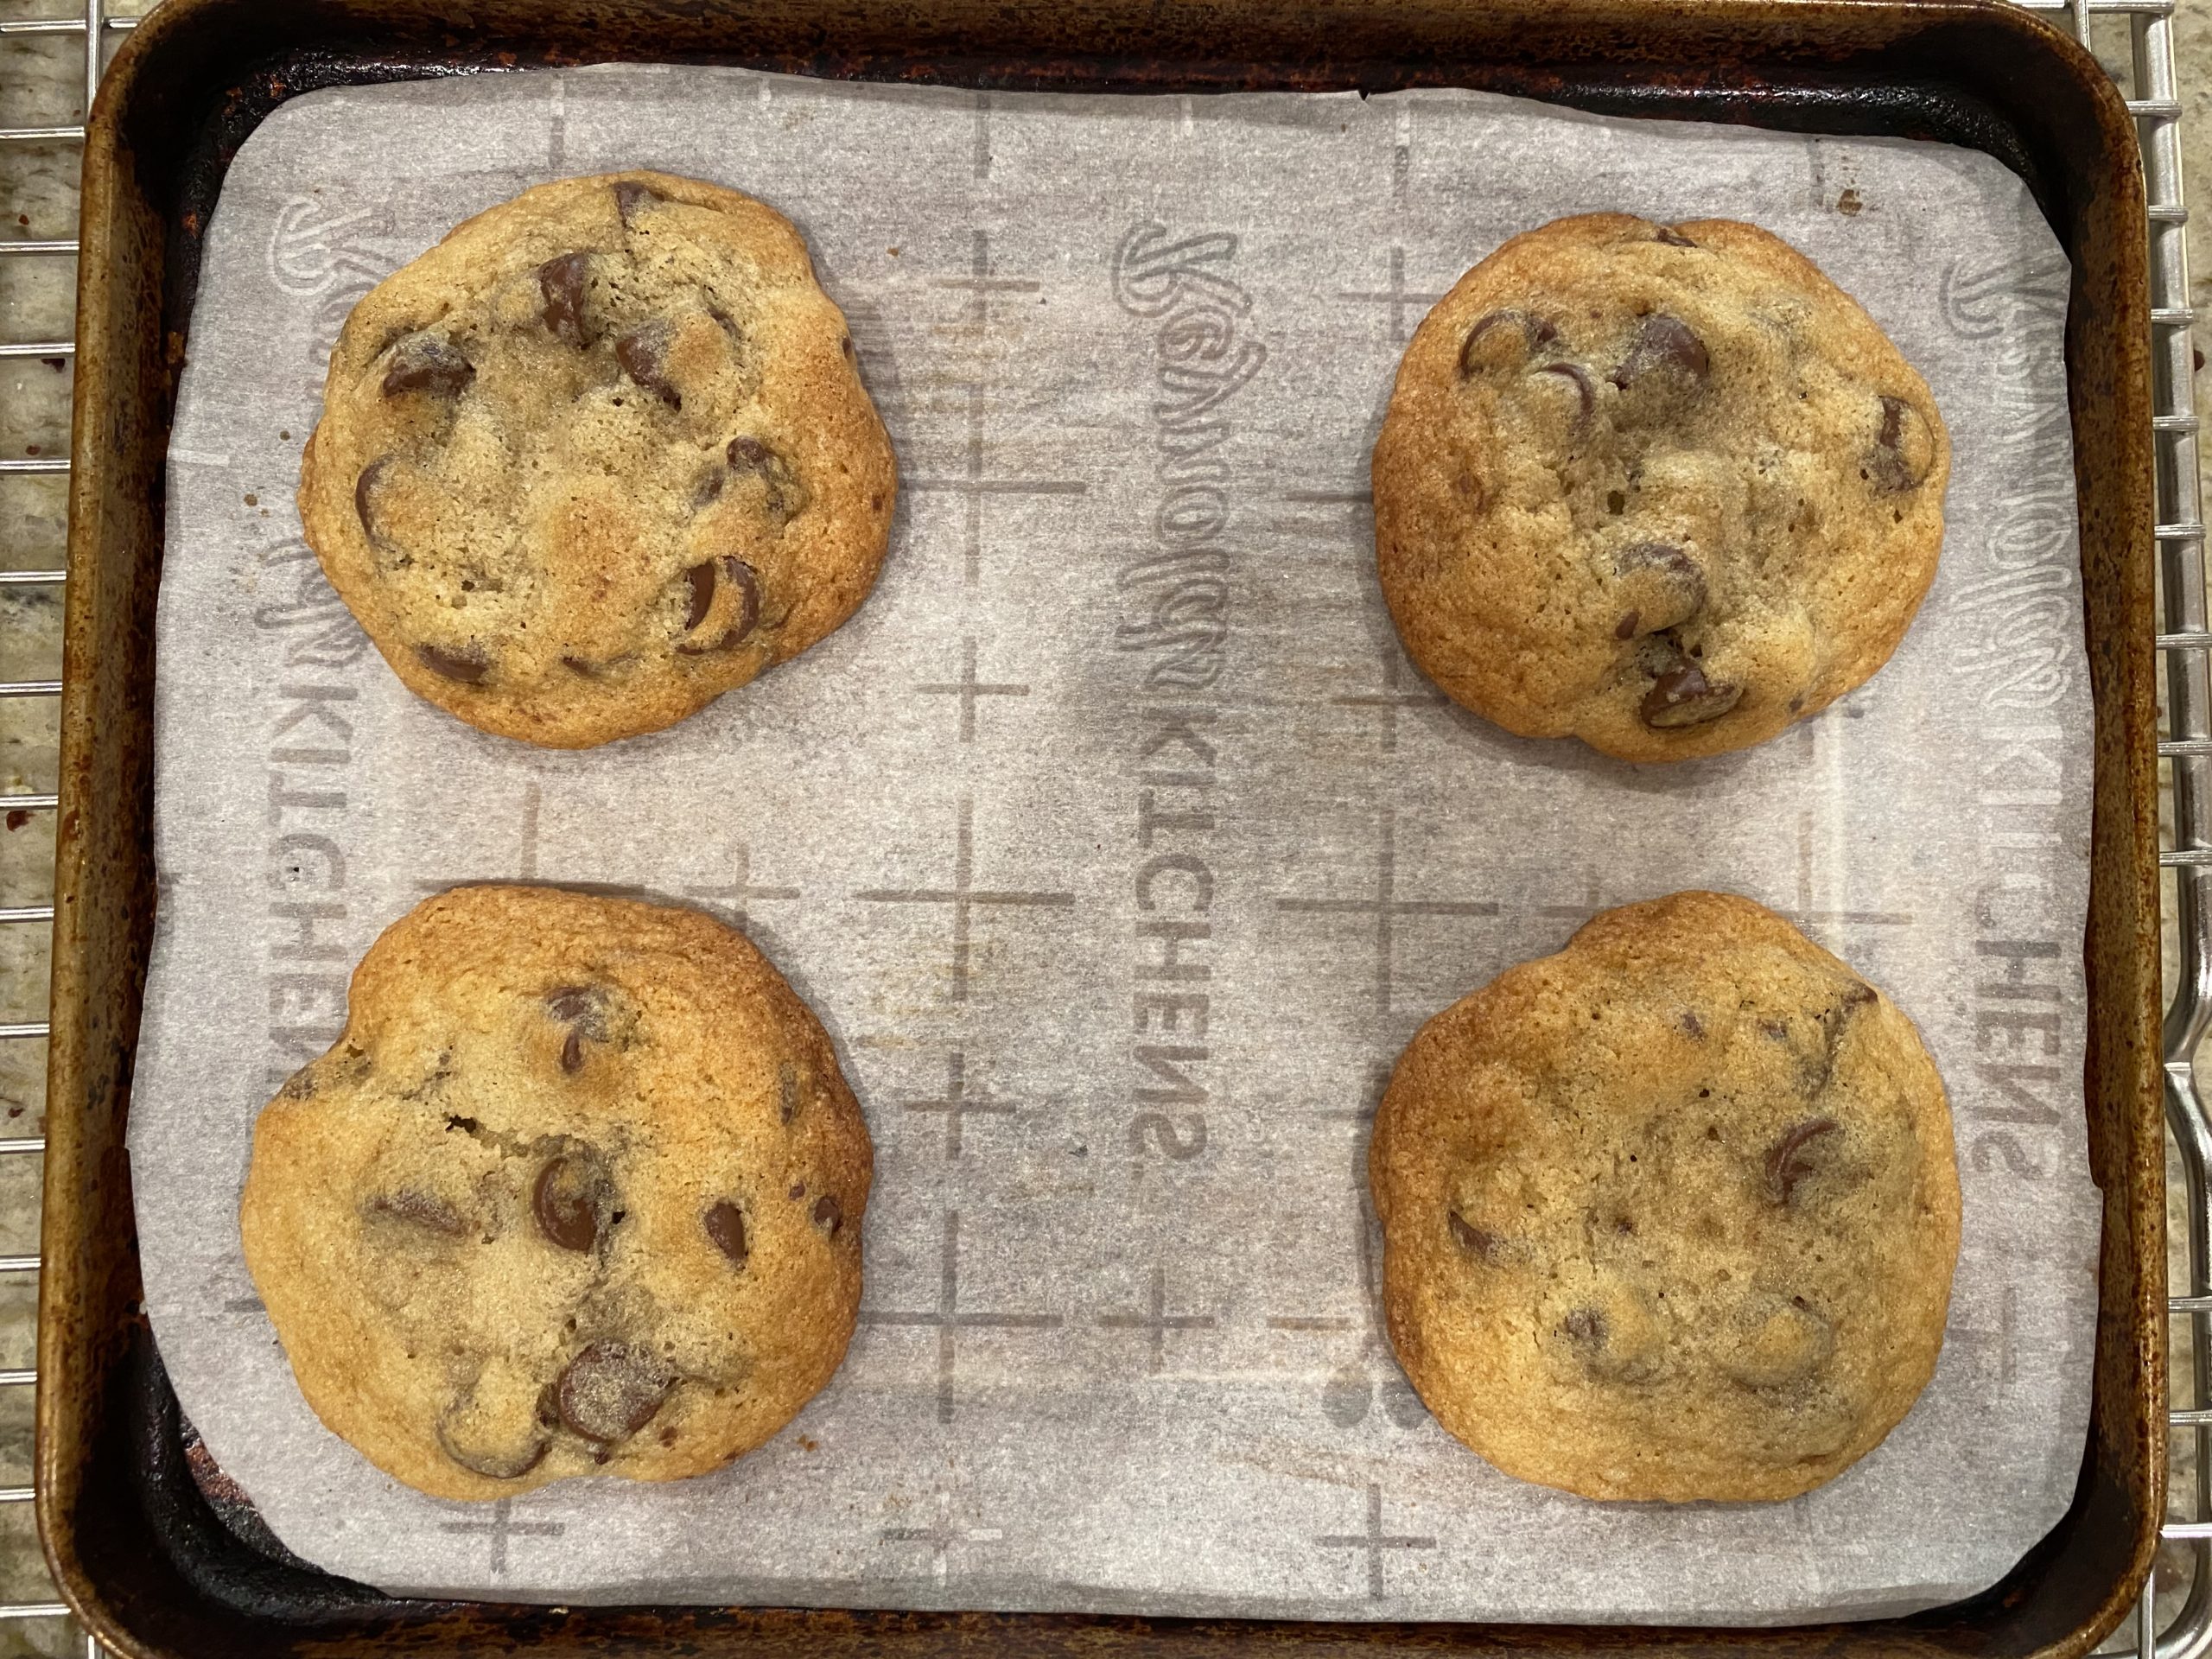
after settling
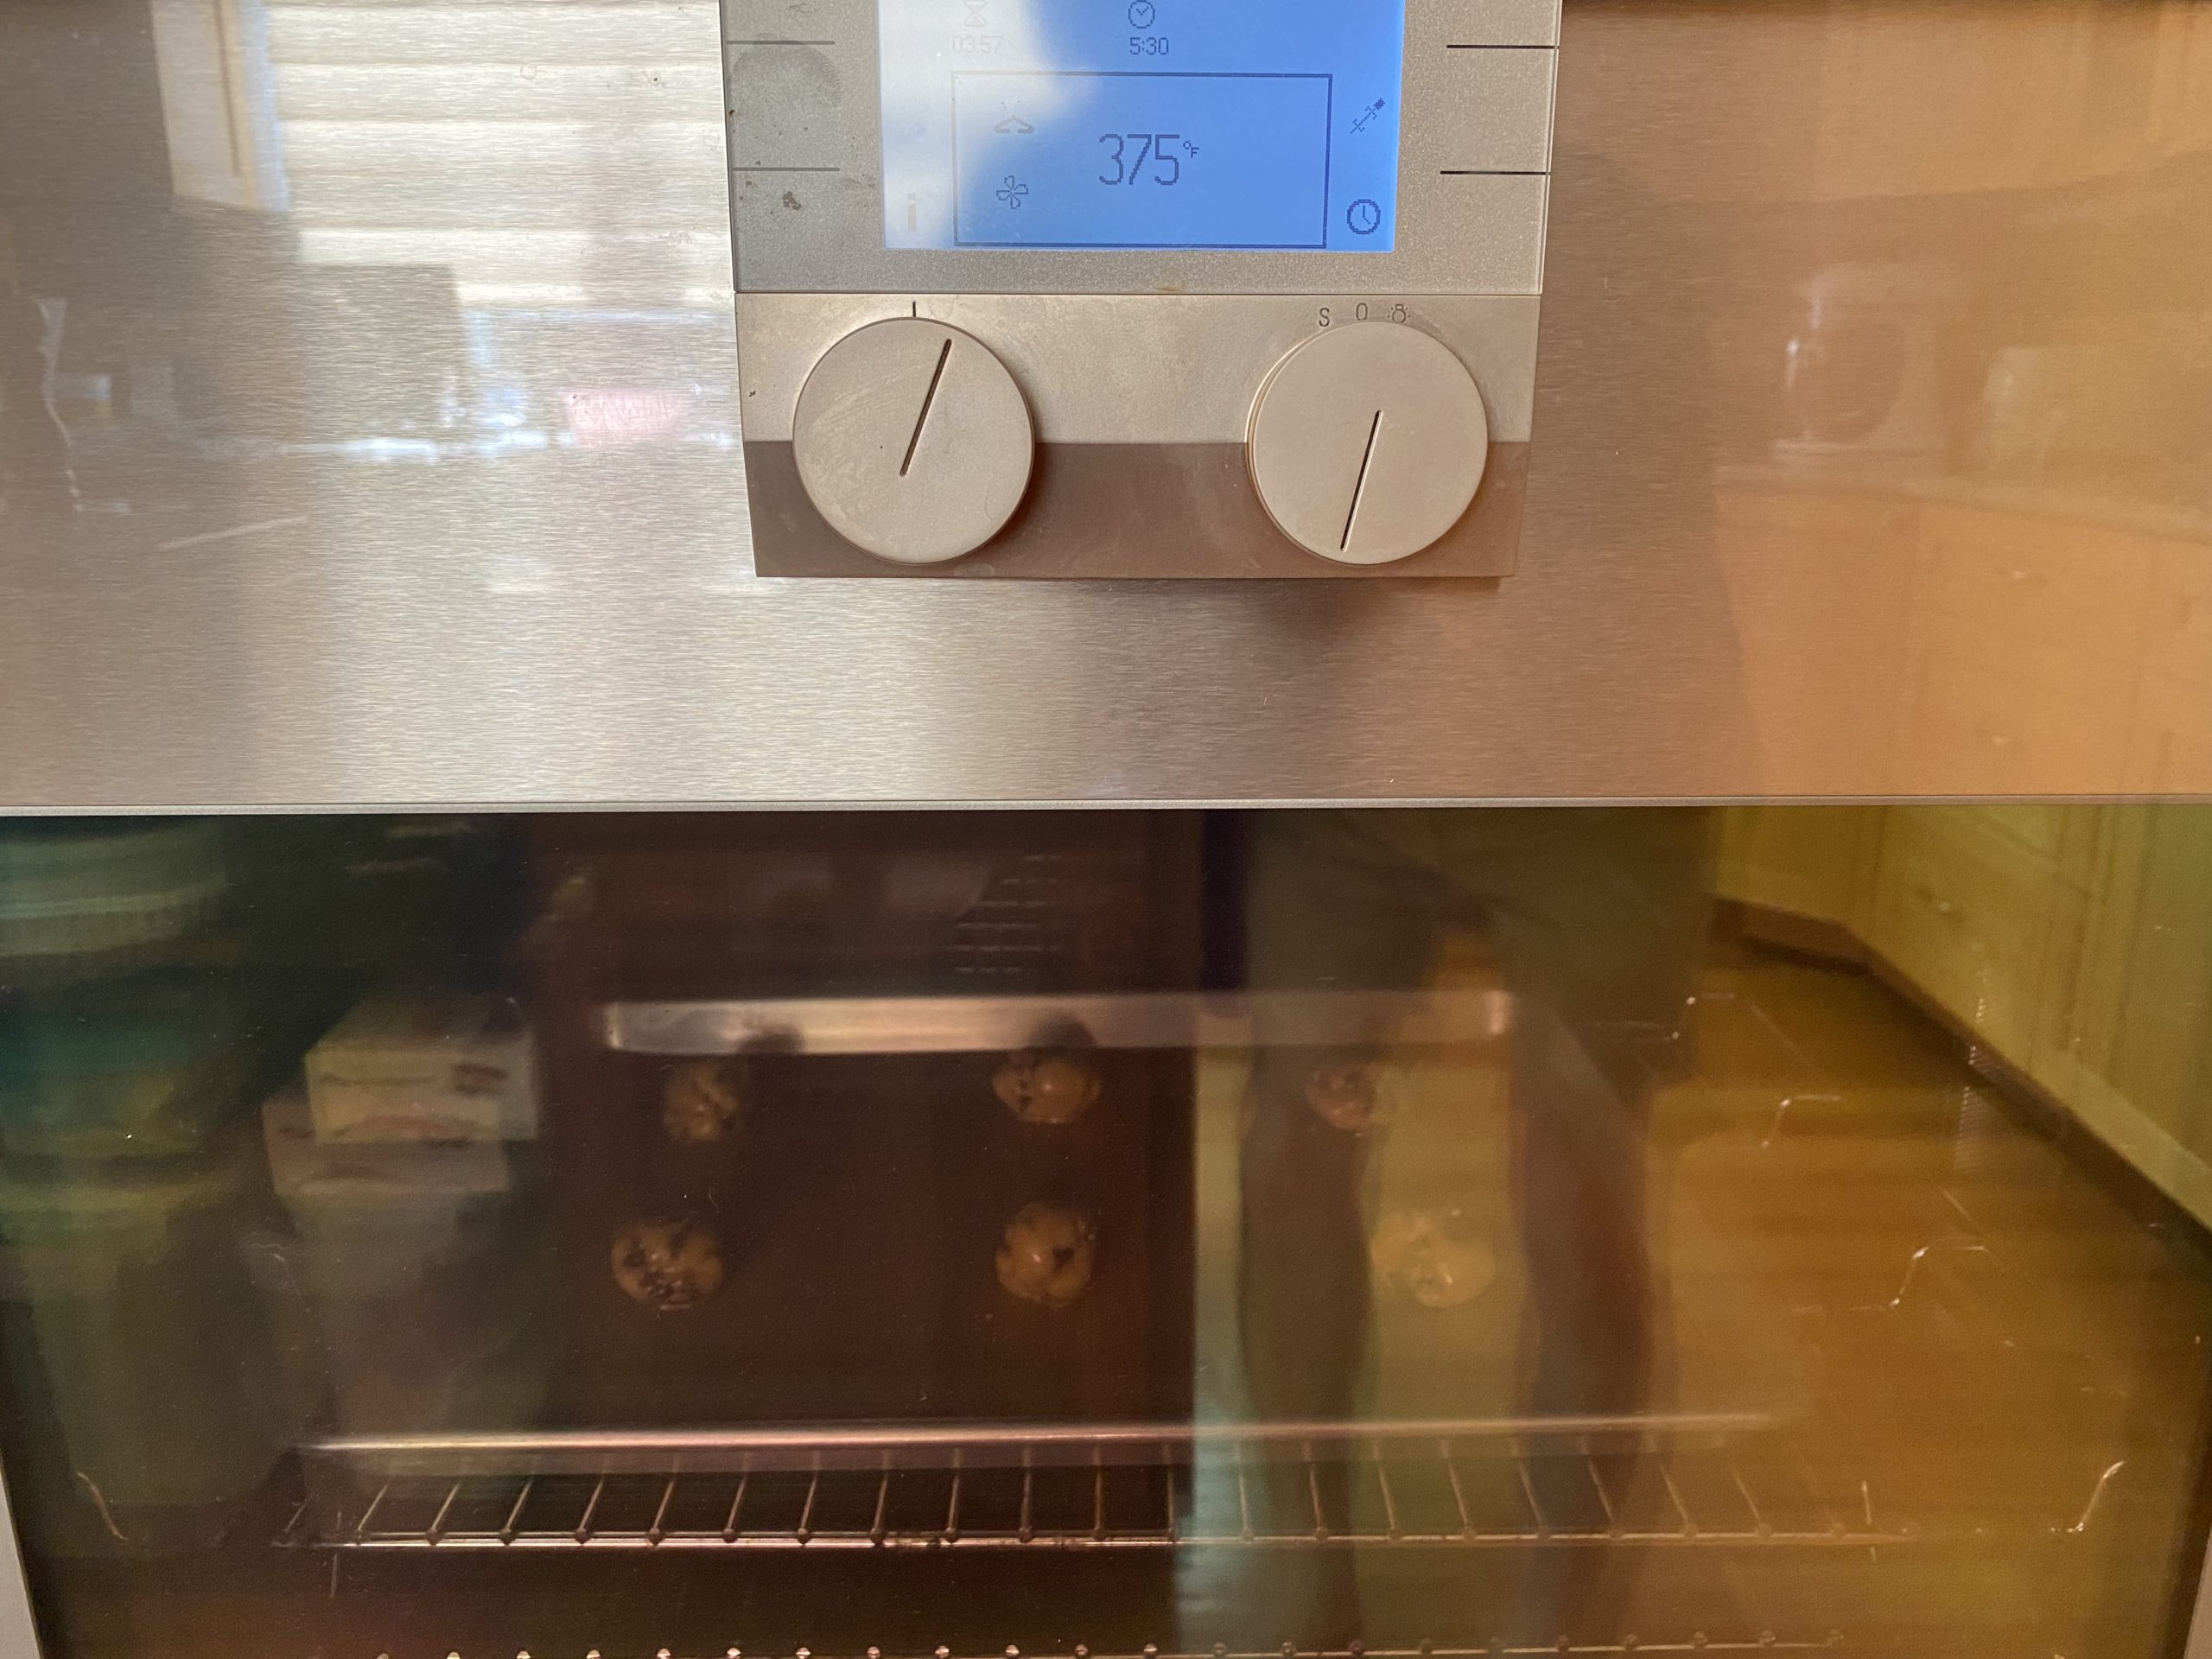
I first baked the cookies on “economy,” which is intended for “Energy saving convection mode for cakes, small pastries, or gratins.” I actually intended to just do regular convection, but I misread the settings on the oven.
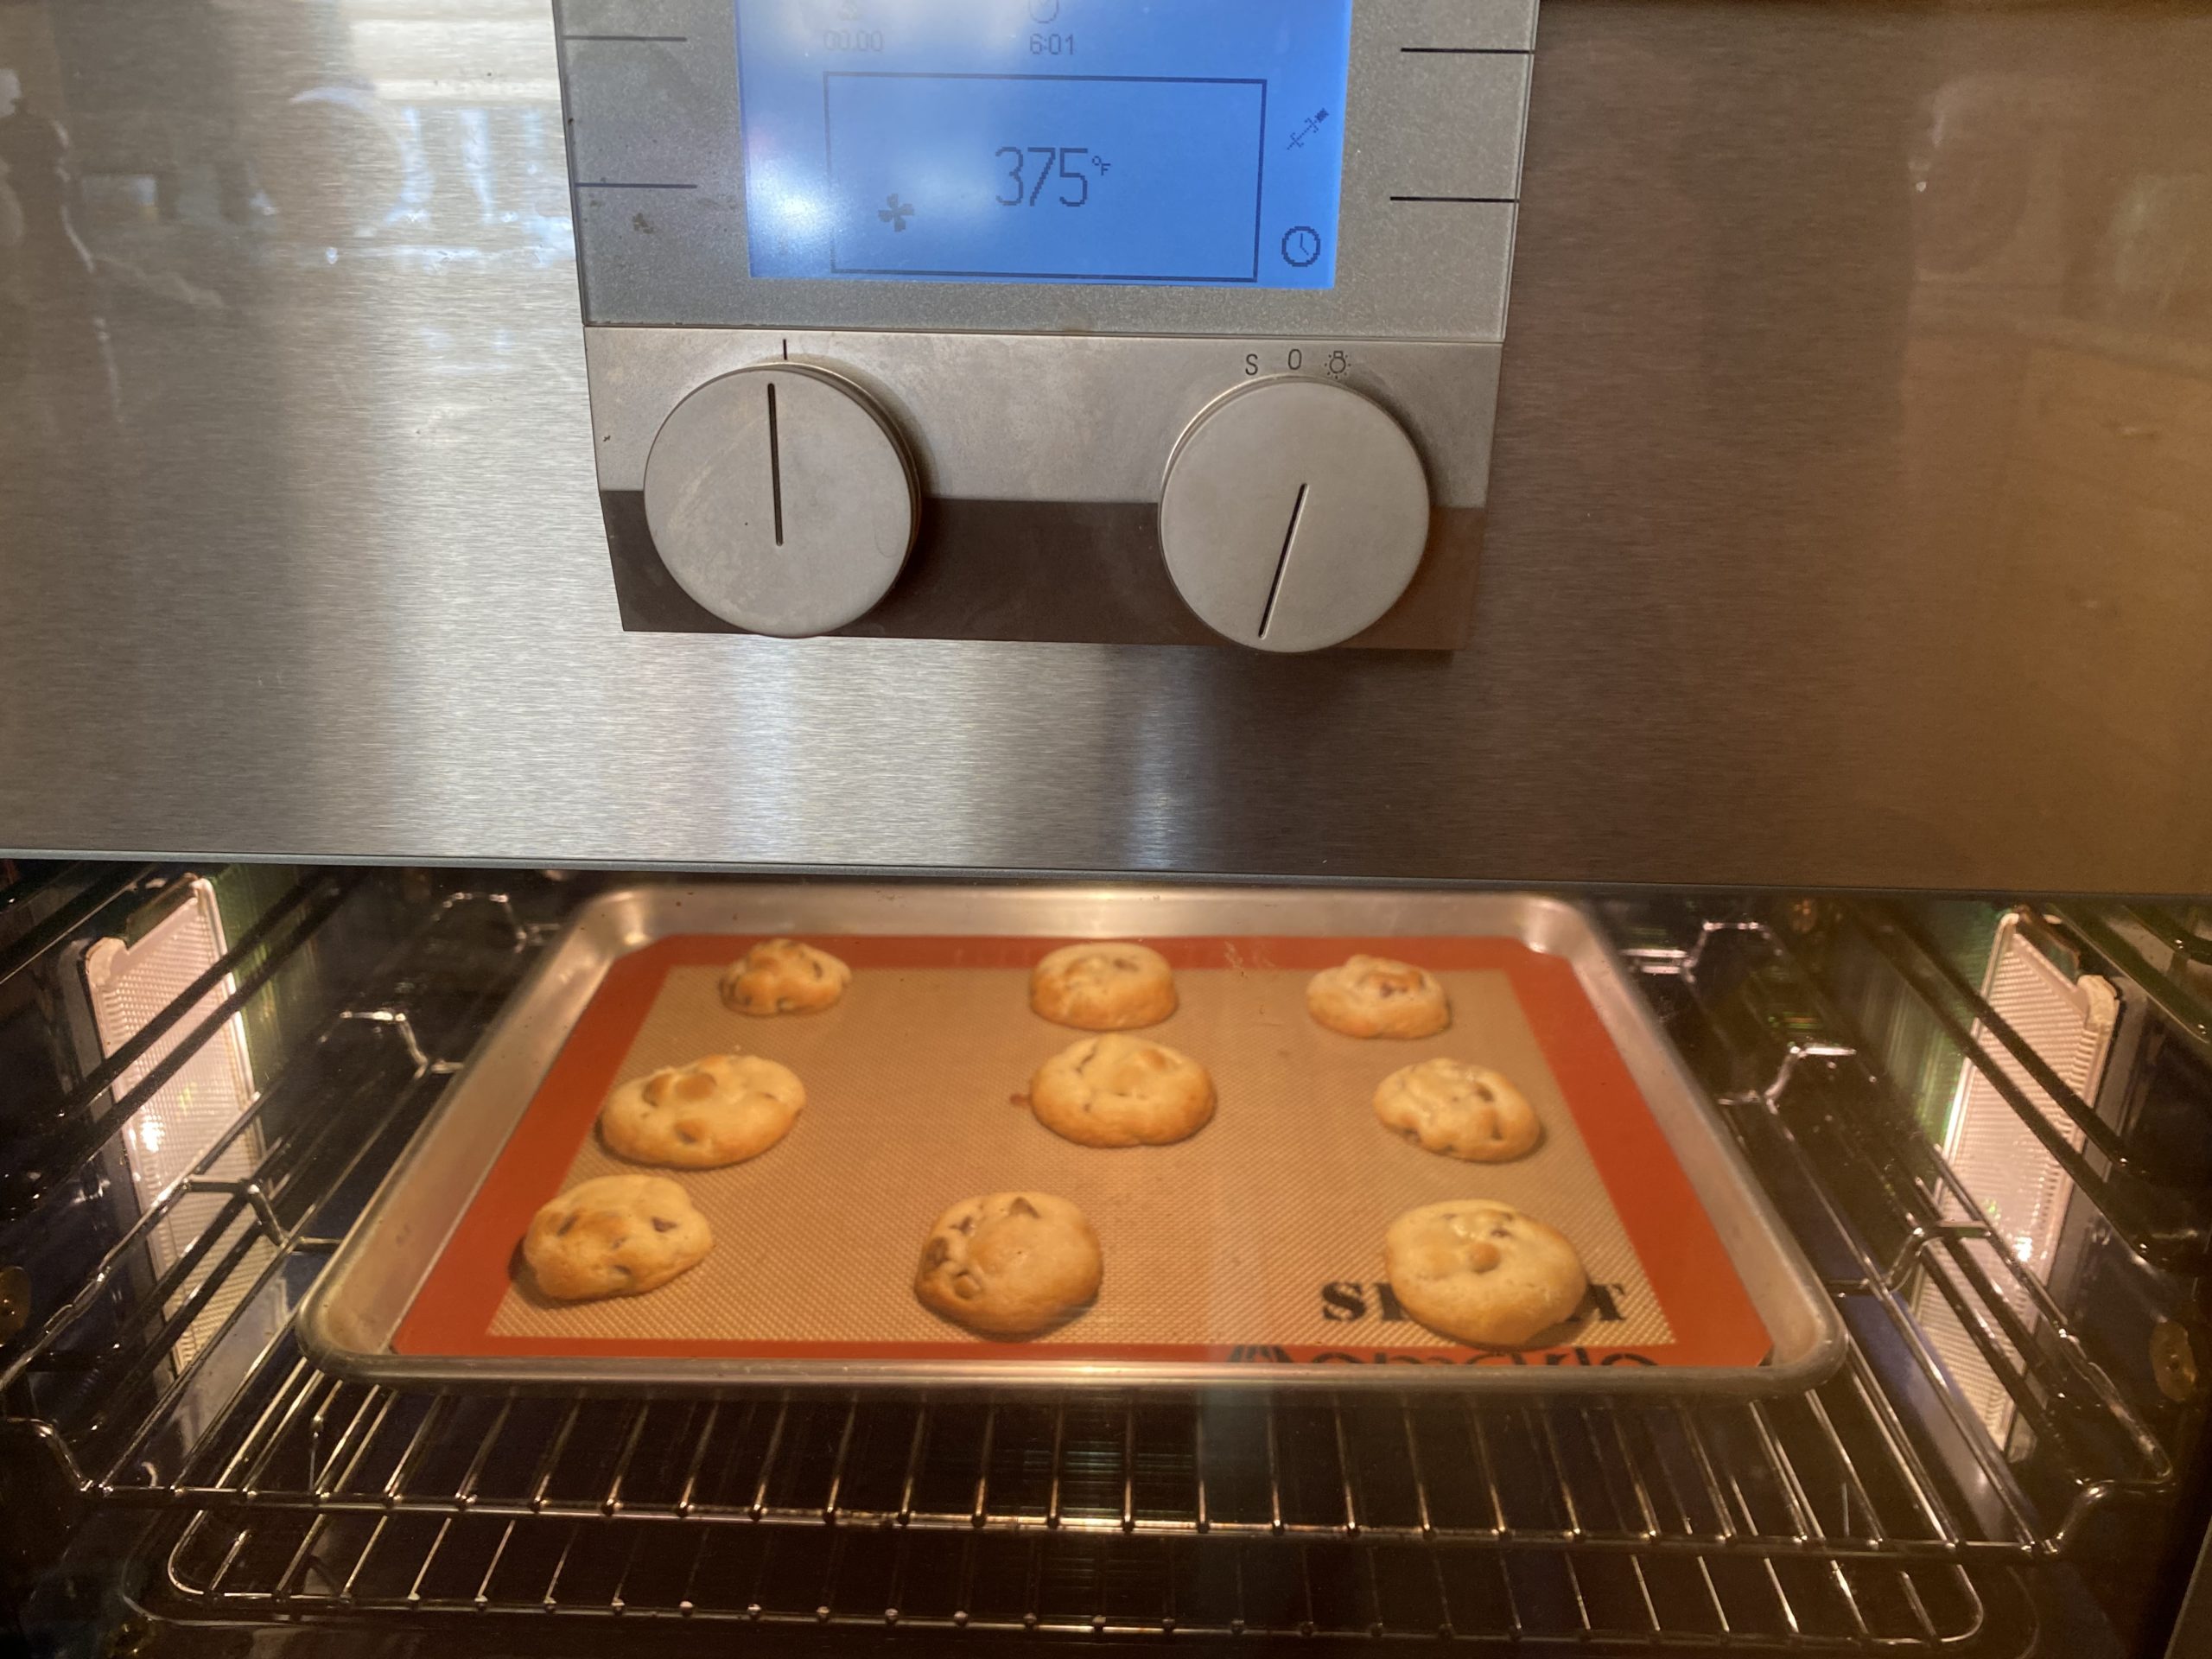
Next, I went for “Bottom heat” for “Further baking, for example for fruit cakes, for preserving or for food in a bain-marie.” I don’t know what any of that means, but I figured bottom heat is the closest to a normal oven setting.
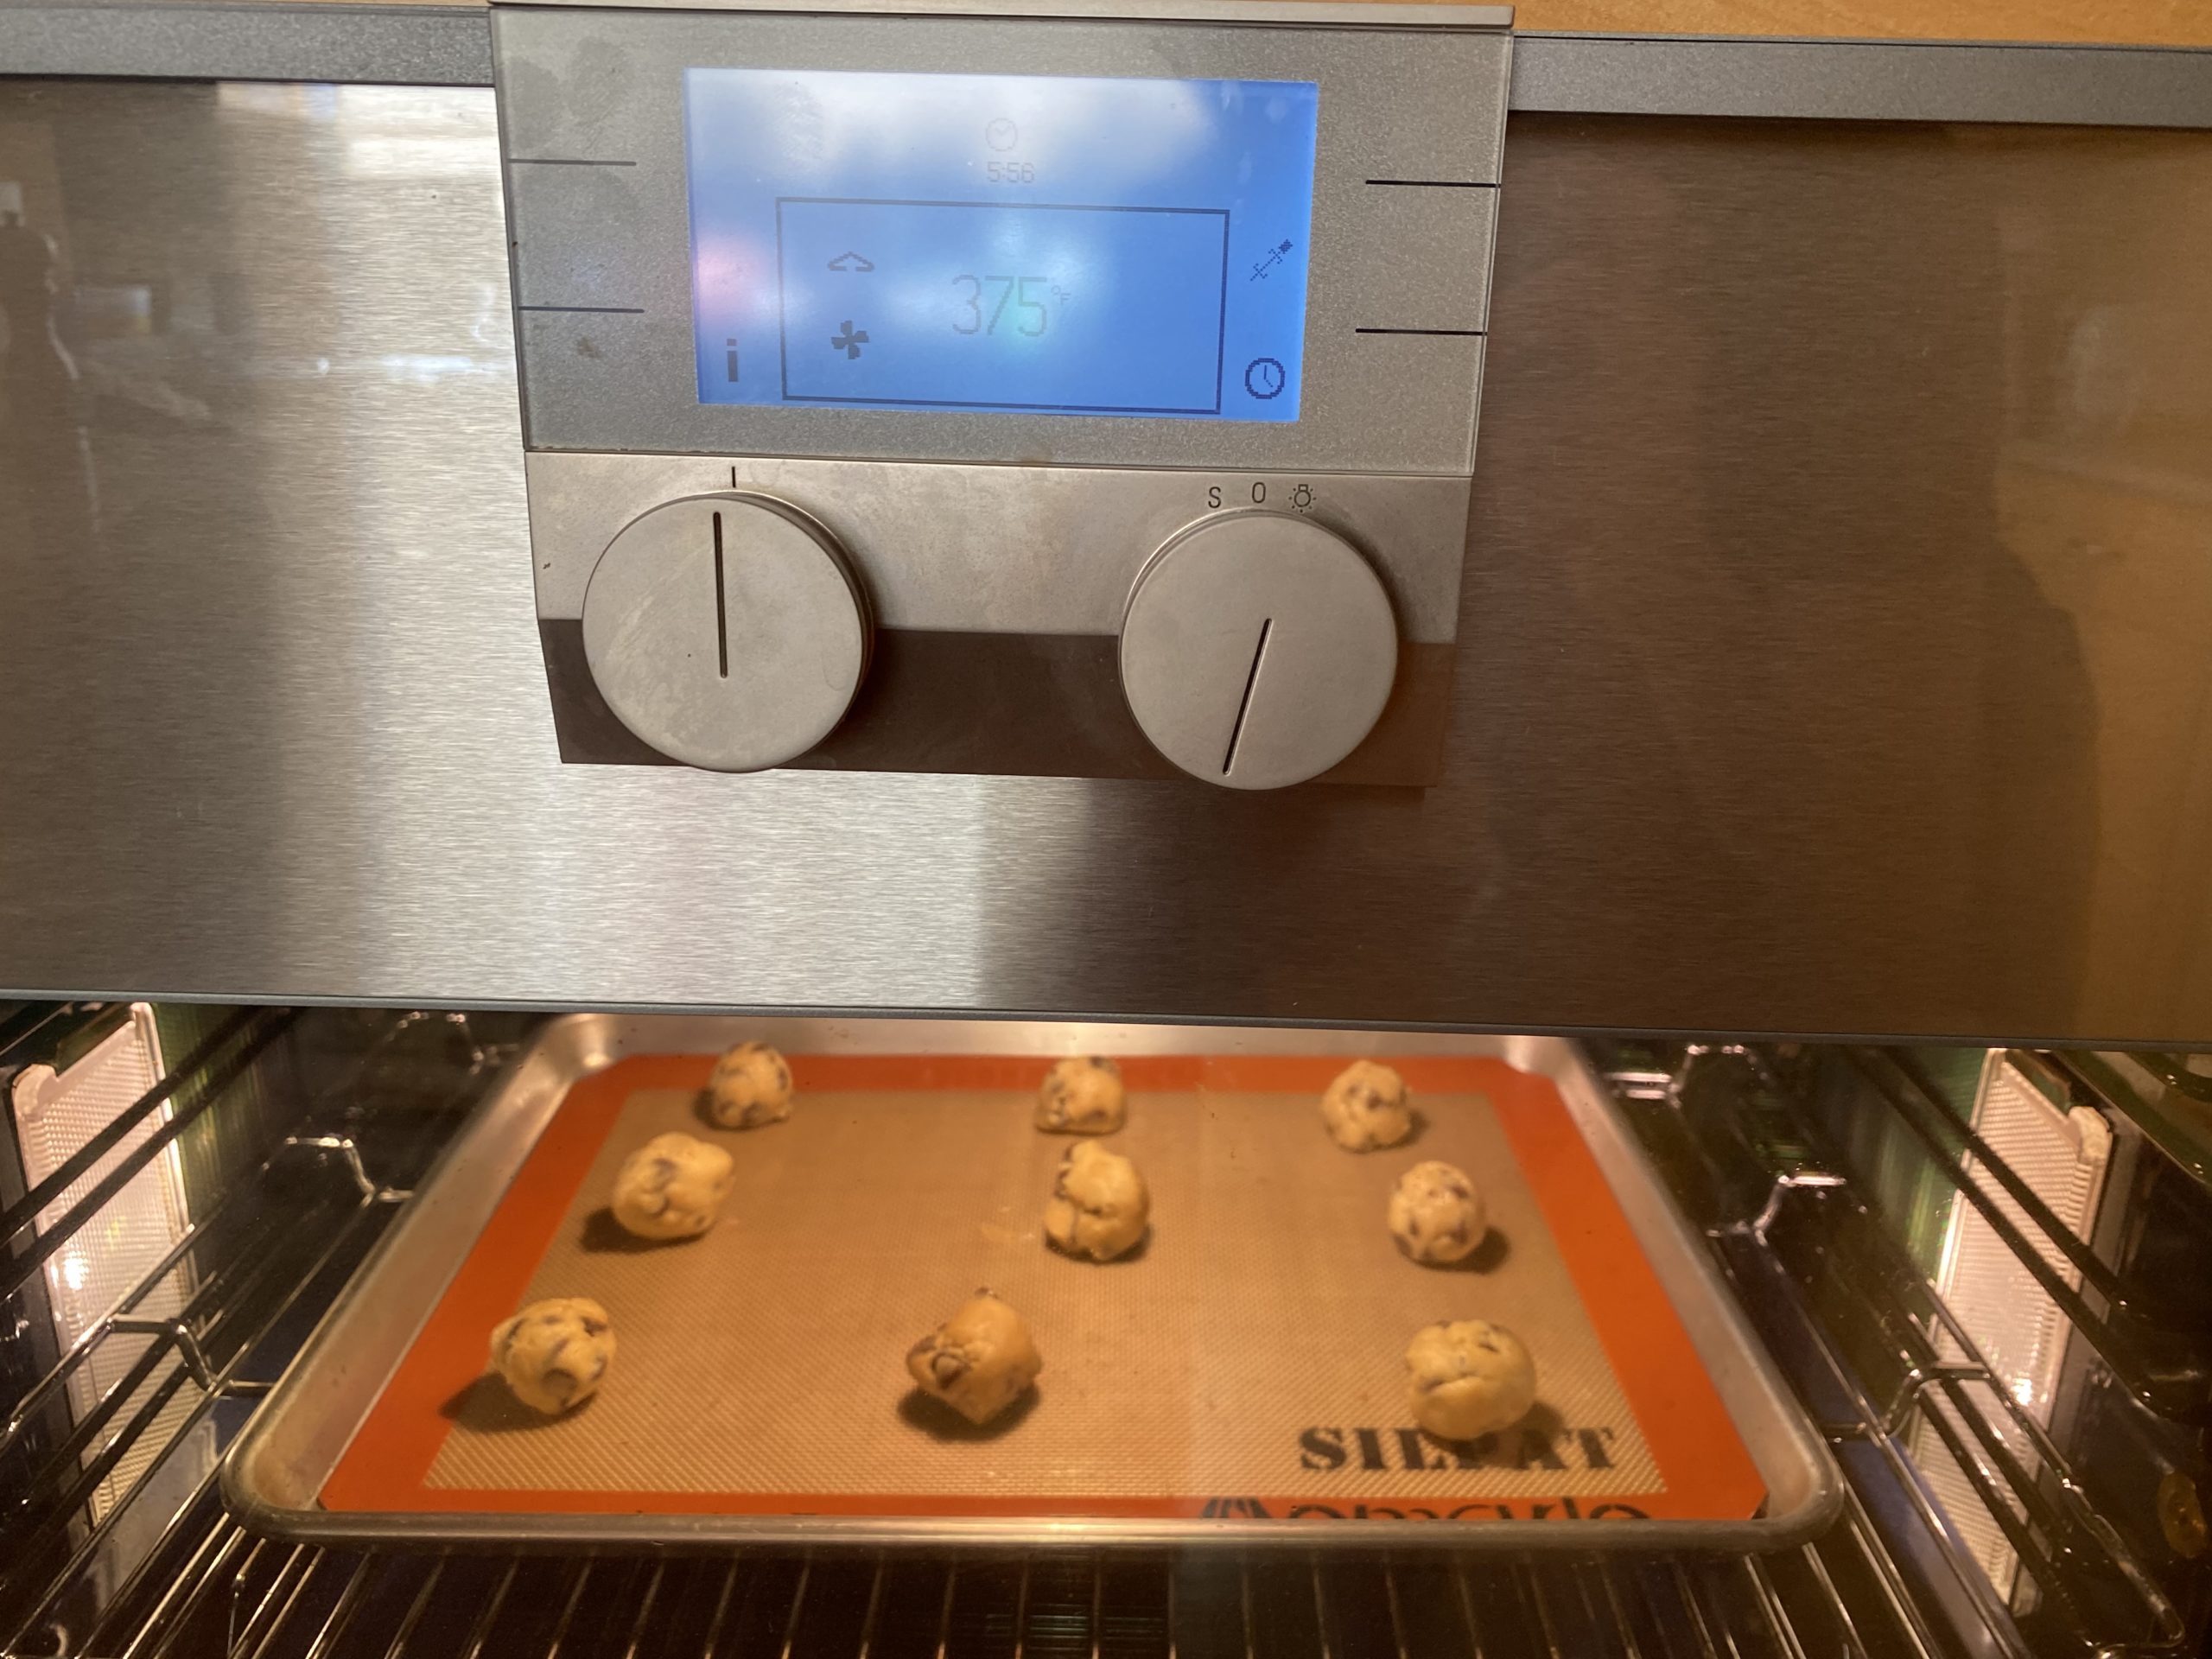
Finally, I want back for the standard “convection” settings “for cakes, biscuits and puff pastry on several levels.” I guess Gaggenau doesn’t expect its consumers to bake cookies.
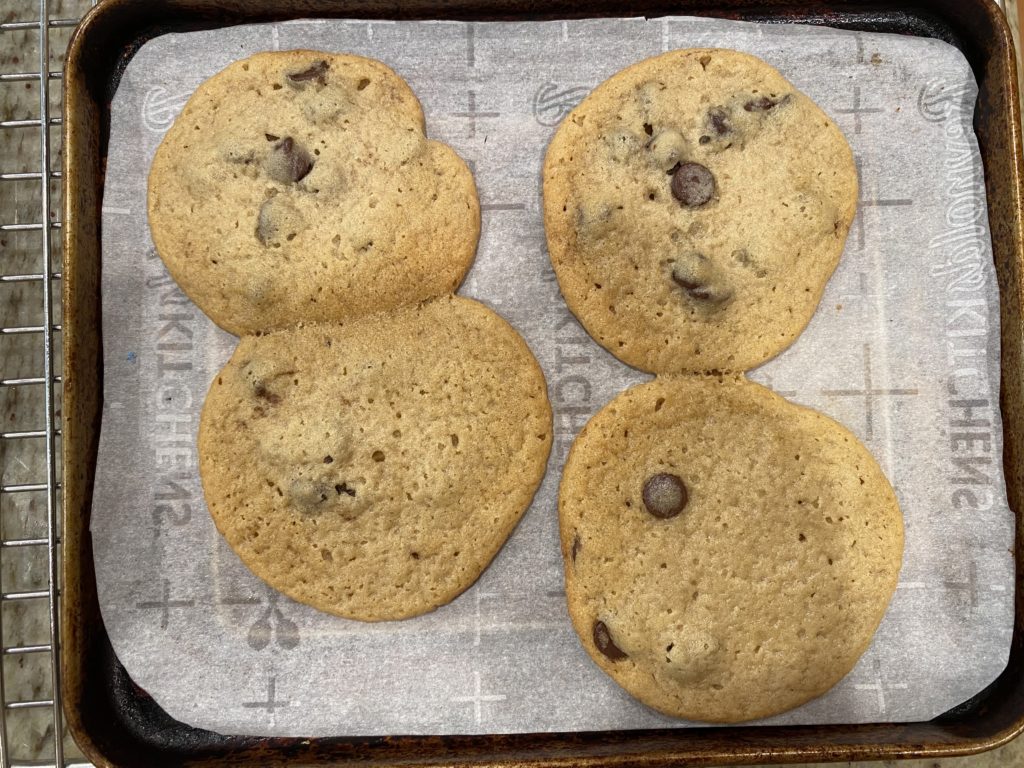
So what really matters is the side-by-side. I baked the bottom heat cookies for an extra minute because they didn’t look done, and they certainly are still less done than the other cookies.
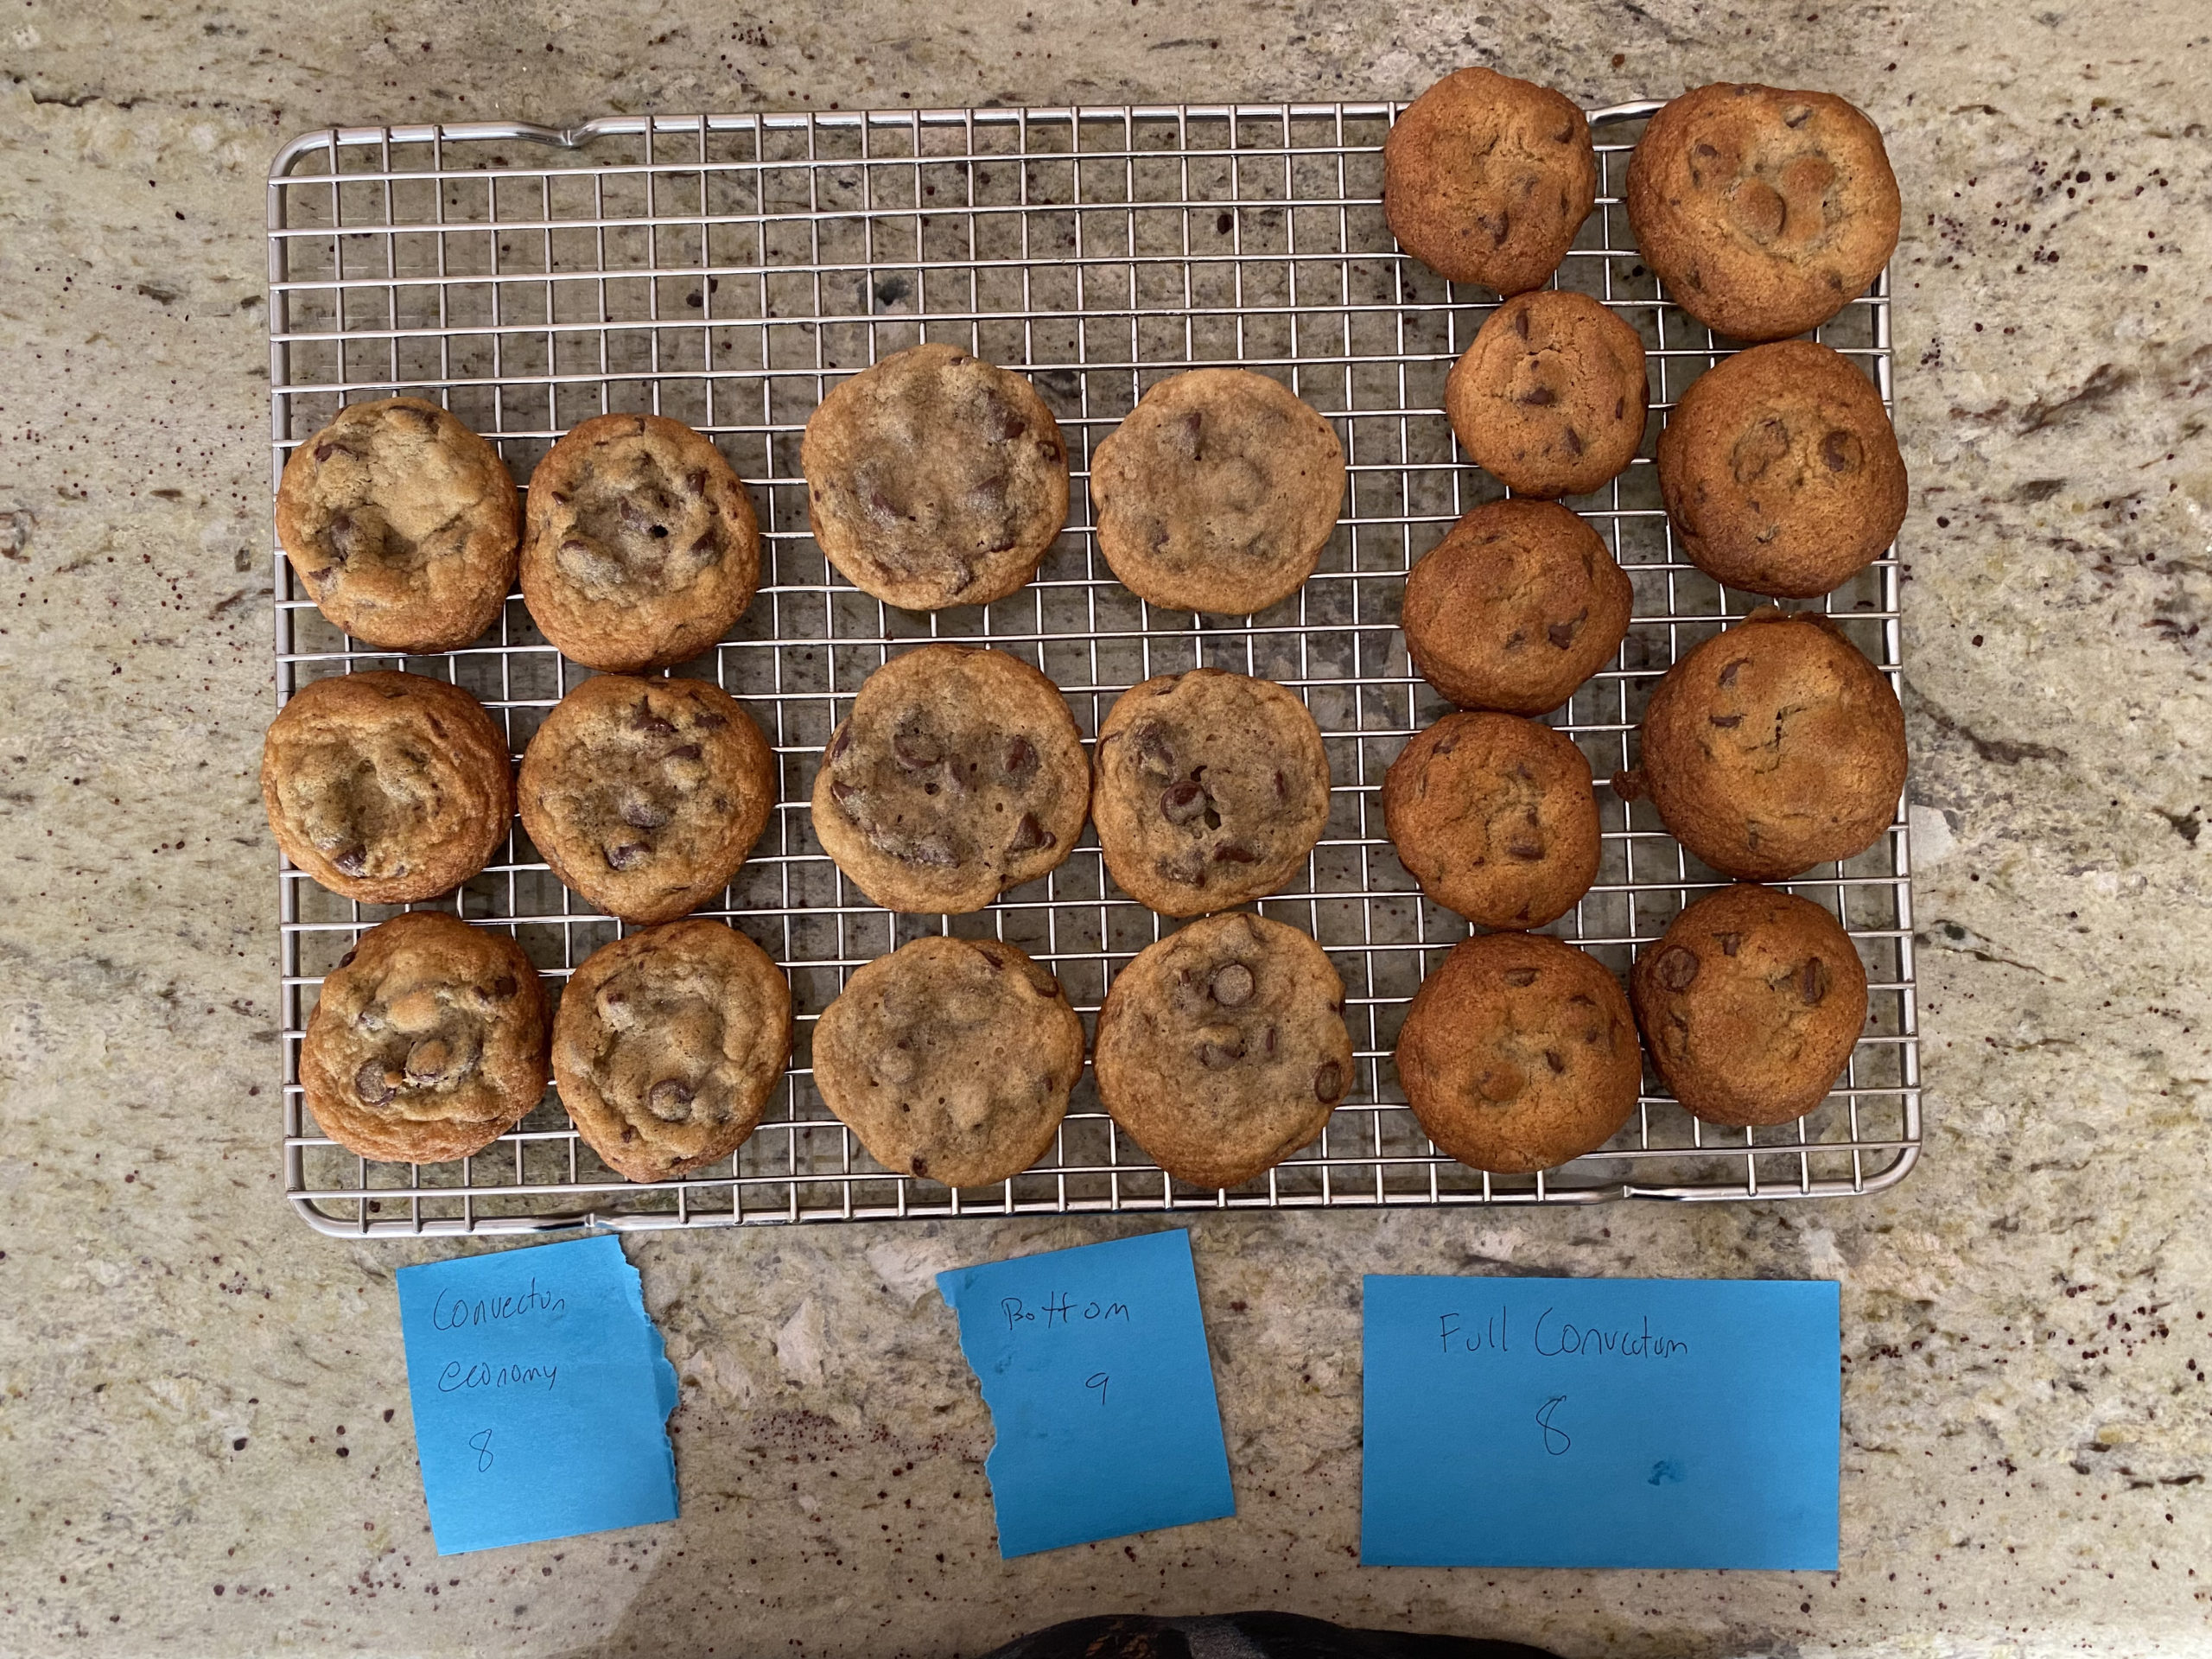
We taste-tested both fresh and on the following day, and they’re all still good cookies. The full convection were a bit overdone, but they didn’t dry out the following day. I also wonder if we could have avoided issues if I had been paying attention to pull them out sooner.
Julie preferred the bottom heat cookies just for being most familiar to her, but we agreed the economy cookies look the best. In fact, I consider it a lucky accident since it’s kind of a midpoint solution I wouldn’t have tried otherwise.
Final Thoughts
I’m still a batch of cookies behind schedule, but as things settle down, I’m confident I can catch up.
Neither batch of cookies this week were too notable, but they are exactly what I needed after a move. First, a quick fix to get cookies going again. Second, an opportunity to learn my new kitchen better.
I likely will continue to experiment with the equipment in the weeks to come. And I probably need to rearrange the kitchen a few times before I figure out what works.