Generative AI is everywhere; it’s feels like the most quickly adopted technology in recent memory. Although it’s easy to use tools like ChatGPT and DALL-E online, I also wanted to play around with the technology myself, so I set a goal of configuring a private chatbot.
What does “private” mean in this case? Well, the catch with using ChatGPT or DALL-E is that OpenAI and Bing has access to all of your conversations. In typical fashion, we’re basically paying for free services by contributing our data, which is subsequently used by OpenAI or Bing to improve their technology and monetize in other ways.
I’m not terribly concerned about how my data is being used: I already have given up much of that by using a variety of other services and social media. I also publish many of my thoughts to be publicly available here on this blog. However, I did build a gaming PC about 1.5 years ago, so I have plenty of computing power to run these models myself. Other than the hassle of getting it setup, it seems like it would be well worth learning a bit more about how this all works.
As a disclaimer, this blog post isn’t going to delve into how LLMs work: there are already great resources for that. Instead, I’m focusing on how I connected all of the pieces to make it happen.
An Overview
The goal of this project was to have a private chatbot available from my phone anywhere in the world. This could broadly be broken down into two steps. First, I needed secure, remote access to my home network. Second, I needed to get a LLM running on my gaming PC.
After consulting some friends, I came up with a few steps for how to do this:
- Setup a Raspberry Pi at home
- Setup a VPN on my Raspberry Pi
- Setup Ubuntu on my gaming PC
- Setup Wake-on-lan from my Raspberry Pi to my PC
- Setup a LLM chatbot on my PC
- Start the chatbot on boot
- Connect the plumbing for all of the above
Setting up a Raspberry Pi
Although I could try to run everything off of my PC, I decided that I needed another device in-between for two reasons. First, if I misconfigured something, I would prefer to have a smaller, cheaper computer exposed. Second, the PC uses a lot of power to run, so I wanted to leave it off.
I probably could have used any old computer, but I decided to get a Raspberry Pi for this adventure. They are small, cheap computers about the size of a credit card.
When I received it, I was so impressed that someone had created such a powerful general-purpose computer in such a small form factor. Then I glanced at my phone and remembered that I have another, even more powerful, smaller, general-purpose computer always in arms reach.
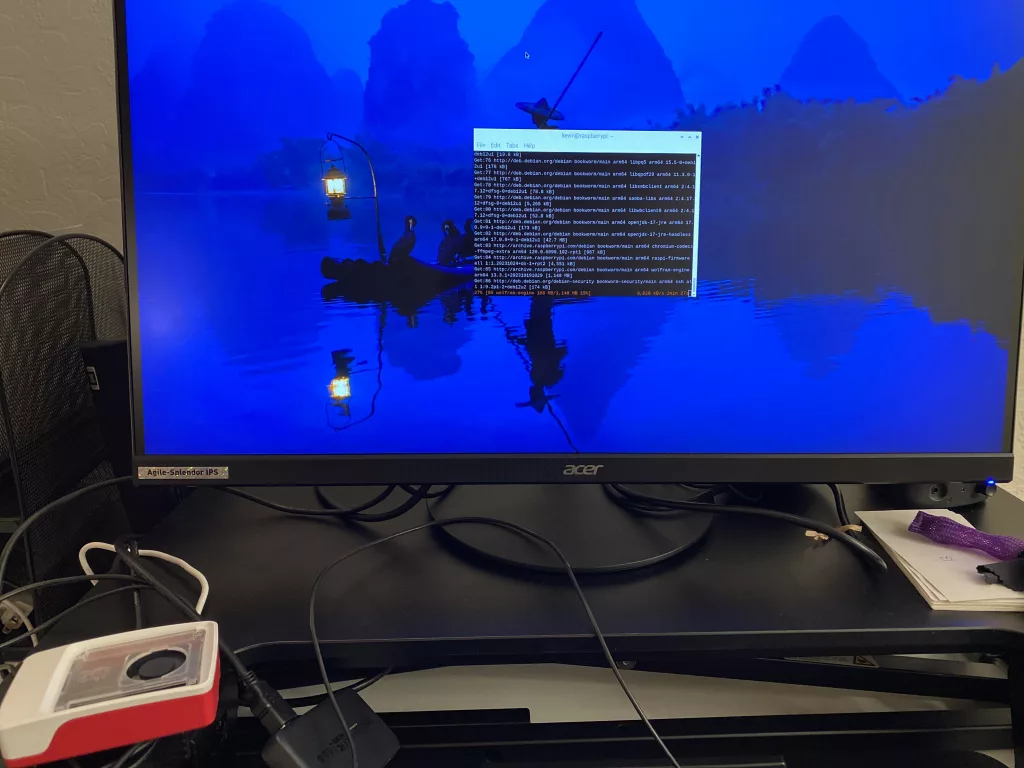
I had no problem getting a Raspberry Pi 5 and set it up using the first-party documentation. I hit a minor snag during setup where the updates would load, but I got that resolved relatively easily when I searched online for the error.
On a minor note, I moved the Raspberry Pi from my desk to the closer with the router to get it out of the day. I had to turn on SSH to access it, which was just a setting, then I changed the hostname so I could easily identify it. Changing the hostname did break Chromium, but that was easily resolved.
Setting up a VPN
Next, I needed to setup a Virtual Private Network (VPN) server on my Raspberry Pi. VPNs are most commonly used to secure corporate networks, but in essence, it allows you to act as though you’re connected to a specific network. For example, my phone gets data through my wireless carrier, but if I join the VPN, then my phone will access the internet as though I was on my home wifi (even if I was on the other side of the planet).
I followed this guide for using PiVPN. I decided to use Wireguard since it sounded like it was a better low-power option for mobile access.
The main issue I ran into was configuring my router to send VPN traffic to the Raspberry Pi. Although I got the DHCP reservation setup relatively easily, port forwarding was not as cooperative. Rather than having picked my own router, I’m using the router provided by my ISP, so I accept my own fault in this. There may have been some confusion with the Raspberry Pi having both a wired and wireless connection. I’m not quite sure what worked in the end, but after some finagling and various resets, it worked.
Two other minor things I ran into.
First, I wasn’t sure what to pick for the DNS provider for the VPN. In the end, it seems like any DNS provider will work, and it doesn’t really matter. I had just gotten confused since I thought that it was asking about the dynamic DNS service suggested in the article (which was an issue I had bypassed with a pre-existing custom setup).
Second, the QR code wasn’t showing up properly. That also was fixed quickly after an online search.
Setting up Ubuntu
When I first looked into setting up a LLM locally close to a year ago, it was wild. There were lots of guides and instructions and options for compiling specific versions of lots of libraries to get it to work. It definitely felt like everything was tied together with twine.
Since then, the ecosystem has matured a lot. It still wasn’t quite turnkey for me, but it did work.
The first decision was what sort of stack I wanted to use. What operating system? Which library? Which LLM? The notable constraint is that I have a AMD graphics card, which can do it, but most people are building on top of Nvidia and CUDA.
I already had Windows 11 installed for gaming, and it would have been convenient to only use one operating system (or WSL). However, I’m still more confident in the UNIX ecosystem, and Ubuntu seemed like a general, popular choice.
I followed the first-party instructions on setting up Ubuntu to dual-boot, and it also largely went well but for a few wrinkles.
First, I needed to find a USB drive. We really don’t use USB drives very often these days, and I had to dig to find one big enough.
Second, I thought for awhile about how much disk space I wanted to allocate to Ubuntu. When I dual-booted my retina MacBook Pro, I had an ongoing issue with disk space between OSX and Windows, so I wanted to get that right.
Third, I needed to change the default OS on boot. In short, I use a wireless keyboard when the PC is hooked up in my living room, and I’m mostly playing games in windows there. If I’m doing this stuff, I probably would have moved my PC to my desk, where I have a wired keyboard. As such, I needed Windows as the default. I just had to find the grub settings and manually change the default option
Setting up Wake-on-LAN
In theory, I could be done at this point. However, I would then need to leave my PC powered on with the chatbot running constantly. Instead, it would save a lot of energy to turn on or wake up the computer when I wanted to use it. This can be done with Wake-on-LAN.
The basic principle is that the network adapter (either the wireless or ethernet card) remains on in a low power state. It waits to a receive a “magic packet” from the network, which then starts the computer as though someone hit the button.
I used both Ubuntu instructions and Windows instructions to set it up just to make sure I could always get anywhere. In Ubuntu, I had to look up my network adapter settings, which took a few specific instructions
sudo lshw -class network

sudo apt install Ethel
From there, I could send the wake signal either from my Raspberry Pi or from my phone using Wolow.
On a related note, I also setup a SSH server on my computer since I was starting to get into it remotely.
Big disclaimer here: wake-on-LAN doesn’t work consistently for me. It will work for a bit, then stop working after a few boots. I haven’t been able to discern either a pattern nor troubleshoot effectively to find the issue, and the internet hasn’t been much help. I suspect the issue lies with my router, but that’s a black box for me.
Setting up a LLM chatbot
I spent awhile going through /r/LocalLLaMA trying to find instructions on how to actually get the LLM running. Again, the main catch is that I have a AMD graphics card. I ended up borrowing instructions from a variety of places, but the best consolidated instructions was this guide.
I got everything build using ROCm as suggested in the guide, which largely worked as intended. Then, I setup llama.cpp, which ended up being a bit of trouble. Notable catches include:
make clean && HSA_OVERRIDE_GFX_VERSION=10.3.0 make -j16 LLAMA_HIPBLAS=1 AMDGPU_TARGETS=gxf1032because my graphics card is not technically supported (but totally works)- I didn’t quite understand that I had to separate download models from Hugging Face. Afterwards, it makes sense that the underlying code is distinct from the models with all of the weights and such, but it took me a moment to do that
- chat mode is a separate setting . Otherwise, it will just start spewing on a given prompt
However, having done all of that, I realized that I didn’t have a good interface for using it (since llama.cpp works from the command line), so I grabbed Text generation web UI as well. And it basically worked great out of the box.
I suspect that some of what I did to setup ROCm and such was helpful, but maybe Text generation web UI would have just worked. I would have started with that if I could and maybe wouldn’t have needed to fight with llama.cpp so much
It even comes with a --listen option so it’s accessible on the local network.
Start the Chatbot on Boot
Finally, if I’m able to wake my computer remotely, it still ideally needs to have the chatbot running. I could SSH in and start it by hand, but ideally, the chatbot just runs in the background.
To do that, I setup a systemd background process to start the chatbot after the computer boots up. Fortunately, someone else already asked about this, and a helpful GitHub comment provided an example configuration for how to do it. The only sticking point was that I needed ROCm to pick the right version, so I had to add this line as well
Environment="HSA_OVERRIDE_GFX_VERSION=10.3.0"A restart later, it was behaving as expected, and I was able to get in from my phone.

Final Thoughts
Well, one more thing: after doing all of this, I also installed Stable Diffusion Web UI, and that just worked.
Since I set it up, I honestly haven’t used it. I tried a few small things to prove it worked, but due to the wake-on-LAN issues, it isn’t reliable enough to bust out in real life.
But perhaps the bigger thing is that I haven’t quite gotten use to using chatbots in my life in general. I currently use GitHub Copilot for autocompletion and code generation, but otherwise, I’m not directly interacting with much generative AI yet.
I suspect I’ll get there eventually, but maybe my next project should be to find a good use case for it.
2 replies on “How I Setup a Private LLM Chatbot”
[…] I’m quite pleased that I finished this project relatively early last year and wrote a blog post about it. […]
[…] I setup my private LLM chatbot, I actually have been using LLMs a lot more. Rather than running it off my personal server, I have […]